November 21, 2024

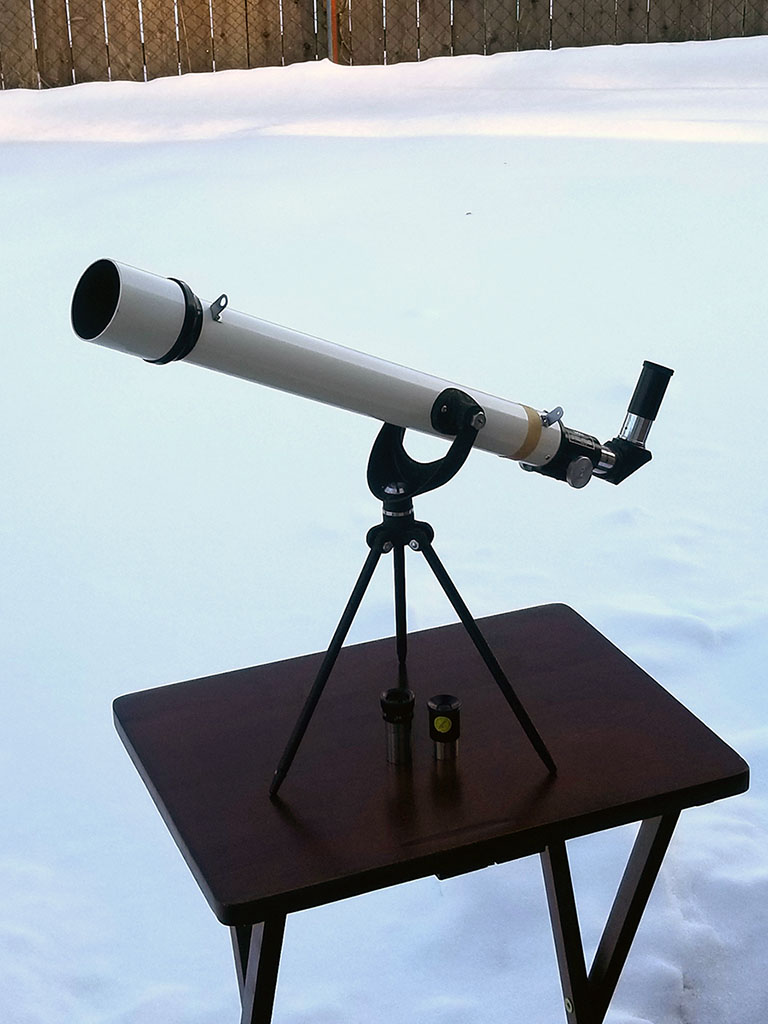
1950s Vintage Tasco 6T

1950s Vintage Tasco 6T

I can’t believe that I found one of these, and in mint condition as well! This is a 1950s vintage Tasco 6T, a 50mm f/12 refractor, all-metal construction, on a tabletop mount, and with a darling little peep sight. My parents had one of these (Sears branded) and this was the first telescope that I used. Some of my earliest memories are of taking this out to Swope Park in Kansas City and using it to watch the skyline. I remember many wonderful night pointing it at everything, seeing the moon, the Pleiades, and of course Saturn. I wore the poor thing out until I accidentally dropped the lens and broke it sometime in the later half of the 1960s. I learned a lot from this little scope and it’s wonderful to have to opportunity to have one almost identical to my original, and in much better condition! Now that I have a really nice set of quality 0.965” eyepieces it’s going to make a great little spotter. I had it out earlier this evening taking a peek at the moon at 20x and 33x and it looked great!
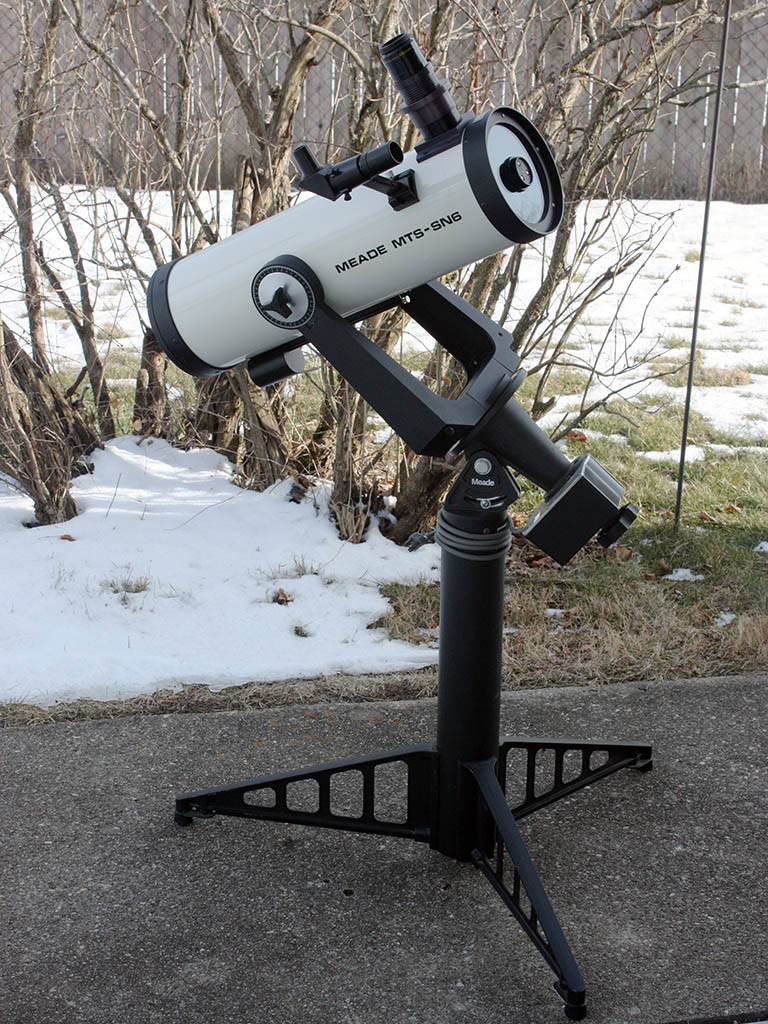
A 1987 Meade MTS SN6

A 1987 Meade MTS SN6

This is something a little different… a 1987 Meade MTS SN6. The MTS (Modular Telescope System) was offered as a 6″ f/5 Schmidt Newtonian, an 8″ f/4 Schmidt Newtonian, and an 8″ f/10 Schmidt Cassegrain on a fork mount with a pedestal base. You could then add several options to the base unit including finders, counterweights, and drives. The drive options included a tangent arm drive for the fork and either a synchronous drive for the R.A. or a complete LX3 drive system. The focuser is also a unique combination of slip and helical, 1.25″ and 2″, and it is designed to accommodate eyepieces or cameras. It is an unusual system, but very well designed, solid, and easy to use. This particular example started as a stock SN6 with the synchronous drive. It arrived in fairly good condition, but needed cleaning and the drive was jammed. So, it got the usual treatment; it was taken completely apart and cleaned, I added a center spot on the primary, fixed the drive (the motor mount was out of alignment), put it back together, and collimated it. I then added counterweights (it uses the same counterweights as the 2080), a Vixen finder bracket, and a homemade dew shield. I’ve had it out a couple of times for shakeout tests and it is surprisingly comfortable to use while seated, tracks well, and produces a fine wide field image. I’m going to have to at least tinker with taking a few pictures with it, but it is destined to be a visual star-hopper.

Fun stuff!

Safely Moving Heavy Gear

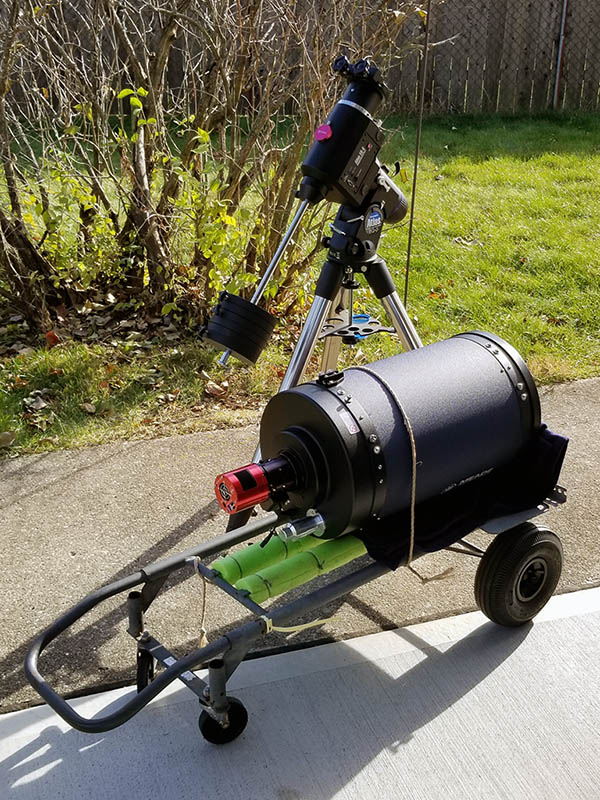
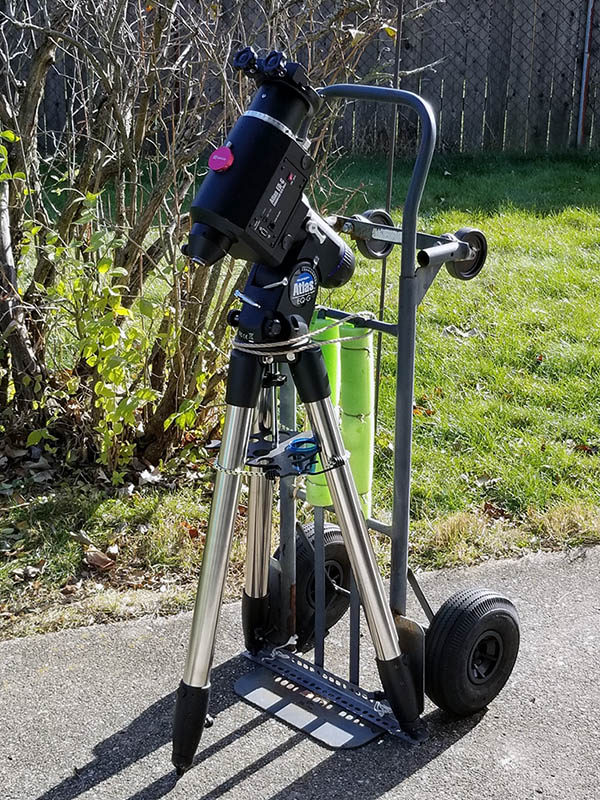
Moving an Atlas with the help of a two-wheel cart.
Setting heavy gear next to the mount.

A two-wheel cart is a handy accessory to help move heavy gear safely and comfortably. The large pneumatic tires roll well over any surface, including grass. A rope or strap holds the gear firmly in place when moving across uneven ground or over stoops.

De-forking a Schmidt-Cassegrain Telescope

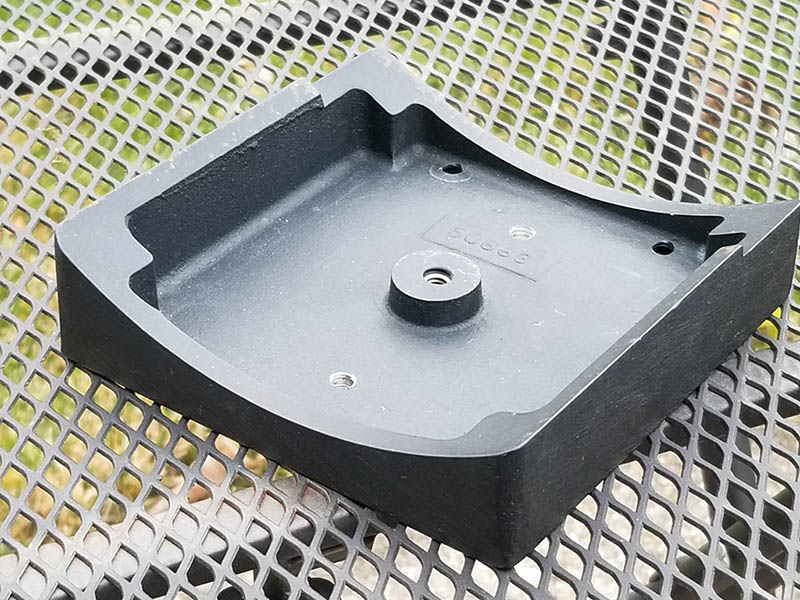
A vintage Celestron C8 tripod adapter.

Interestingly, de-forking SCTs has been around as long as the SCT itself! The original owner’s manual for the 1970s vintage Celestron C8 describes how to do it and you could even buy a ‘tripod adapter’ for the C8. Nearly 50 years later the procedure is nearly the same. Briefly, you need to support the telescope so nothing falls as it comes apart. I place mine on a sturdy table covered with a towel. Start with the telescope on its base with the clutches loose. Before you start, gently scribe where the fork arm that has the dec clutch attaches to the base; this is so you can re-align this arm in case you ever re-fork the scope. On the LX200, remove the plastic cover from the bottom of the fork arm that has the dec clutch. This will give you access to the 4 bolts that hold the arm to the base. Using an Allen wrench slightly loosen these 4 bolts. You may need an extension to crack these bolts loose. Once cracked loose, snug them so the arm doesn’t move before you’re ready. Gently lean the telescope forward over the control panel and allow the telescope to pivot on the dec axis until the front of the scope and its dust cover are firmly supported on the table. Now loosen the 6 bolts (3 on each side) that hold the telescope to the fork trunnions. The middle bolt may be hard to reach and you may need to file down an Allen wrench to fit between the fork and the bolt head. Once all 6 bolts are loose, loosen the 4 bolts that hold the fork arm to the base by several turns; this will allow you to open the forks enough to slide it up and off the scope without scratching the tube. While supporting the forks to keep them from falling, carefully remove the 2 outer trunnion bolts from each side. Loosen the 3rd until it is almost out. Once this 3rd bolt comes out you’ll need to hold the mount to keep it from falling, so be careful! Carefully remove the 3rd bolt from each side while supporting the forks and then lift the fork up and off the scope. Installation is the reverse of this procedure.

Very important! Do NOT put the trunnion bolts back in the scope! They may be long enough to bear on the mirror. Instead, place them in a labeled bag and store them with the mount. Purchase a set of shorter bolts from a hardware store to plug the holes on the telescope.

The first time you de-fork a Schmidt Cassegrain can be a bit tricky, but once you’ve seen how it is done it is fairly easy. However, please proceed with caution.

A 12” f/8 Meade ACF from LX850 Production

A 12” f/8 Meade ACF from LX850 Production
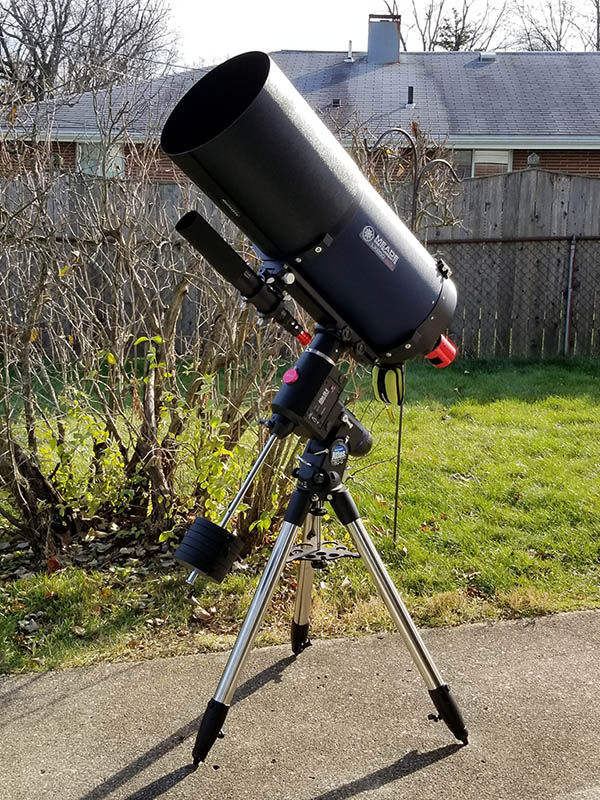
Shown with the dew shields installed

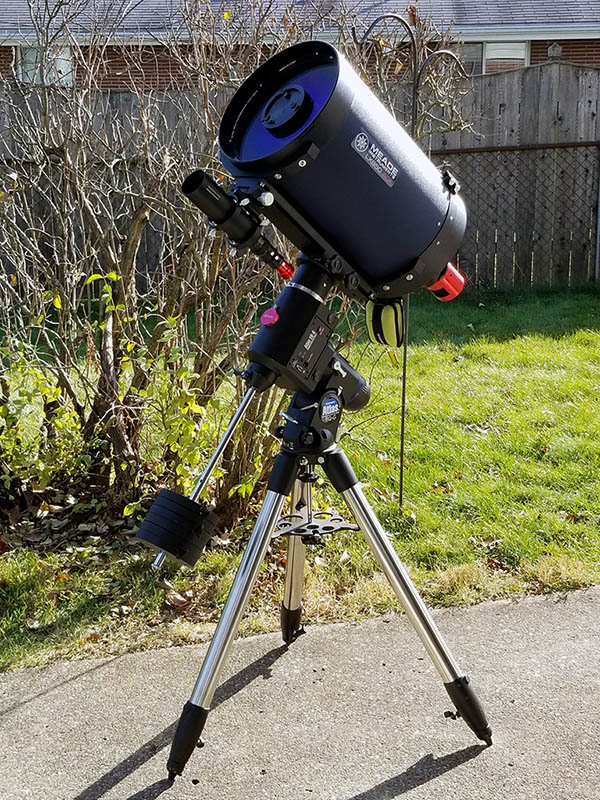
This is my new-to-me 12” f/8 Meade ACF from LX850 production after two solid nights of imaging shown with and without the dew shields installed. The weather was pretty rough and really not well suited for serious work, but I wanted to determine whether the Atlas could handle the weight of the 12”. To save weight I removed the Starlock mount from the top of the telescope and mounted a 50mm mini guider under the scope. I also used a Lepus 0.62x focal reducer to make the guiding a little more forgiving. However, I wasn’t thrilled with the initial results, so I replaced the small guider with a larger 60mm Astro-Tech guide scope and removed the focal reducer. I knew that this would shift the balance and I later found out that it was whacko off, but it still performed very well. Before starting the second night of work I reset the balance and it performed brilliantly. So, question answered; yes, the Atlas can manage the weight of the 12” if you pay close attention to the balance. The next step is to add a Reflectix insulation jacket to slow the response of the telescope to temperature changes during the night. This should reduce how fast the focus shifts as the telescope cools and shrinks. The devil is always in the details!

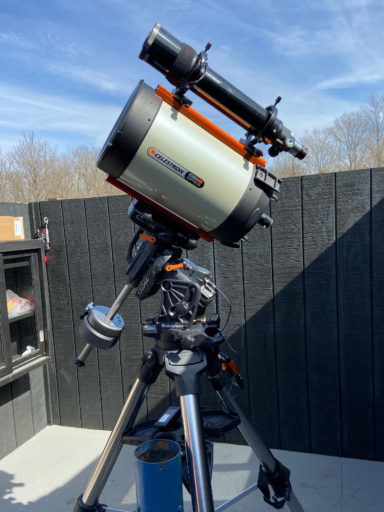
MVAS Celestron C11 Edge

MVAS Celestron C11 Edge

The club’s C11 Edge HD is now mounted on our new CGX-L mount located in the roll-off roof observatory on the grounds of the John Bryan State Park Observatory and is ready for use by our members. Please contact Qualifcations@MVAS.Org for information.

Fixing Mirror Flop

I just finished putting my new to me C9.25 back together. It had the classic symptom of not holding collimation and not holding focus after slewing. I suspect that this scope has never been taken apart as there were spots of fungus on the inside of the corrector and the corrector was really stuck! I marked its orientation, sprayed around the edge with Windex, and carefully worked it loose. I reached down inside and engaged a wooden dowel with one of the spanner holes in the lock ring a nudged it. Sure enough, it was completely loose. I could turn it about 1/2 rotation without any resistance. Just a tad more, and it was snug. While I had it open I removed a few tiny spots off of the primary and secondary with lens tissues .(I _hate_ touching the mirrors, but sometimes you get lucky) The secondary also have a bit of fungus, now clean.  I carefully cleaned the inside of the corrector with Windex followed by breath and lens tissues. Before closing the tube I inverted it and used a puffer bulb to blow the dust out, and then carefully lowered the corrector back in place. I didn’t like the original tiny spacers, so I cut ribbons of black construction paper and layered them evenly around the corrector until the gap was full (about 5 layers total all the way around). I remounted the rail, reinstalled the finder, touched up the paint, and now it’s ready for testing. I love reconditioning these old scopes!

So far I’m 3 for 3 finding loose lock rings. Tomorrow I’m going to open up a 12″ that’s showing the same symptom. Gotta do something while it’s cloudy.