November 16, 2024

The Grand Conjunction

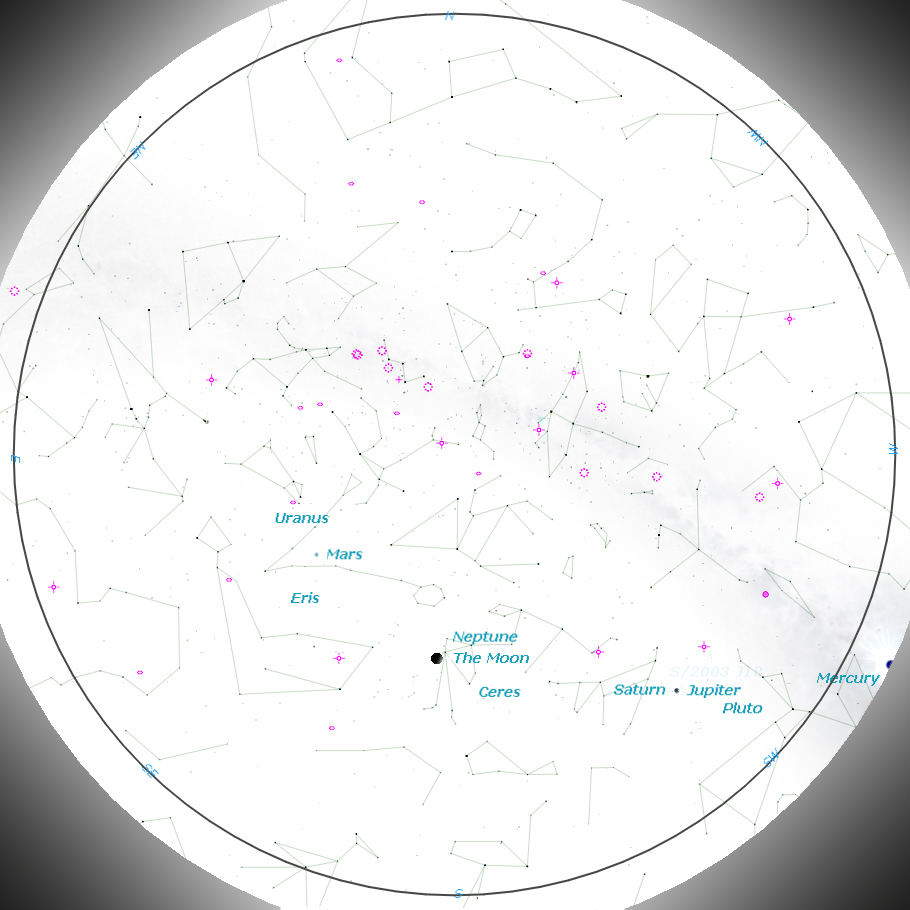
The Sky as viewed from the Miami Valley 30 minutes after sunset on 12/20/2020

The weather forecast for the Grand conjunction looks decidedly mixed with partly cloudy skies this evening (12/20), cloudy on the 21st (Monday, the Big Day), and clear on the 22nd (Tuesday), before turning cloudy again. Although it looks like it will be cloudy for the Main Event tomorrow night, keep in mind that the Grand Conjunction is a slow motion event that has been building for months and that only the closest approach between Jupiter and Saturn (1/10 of a degree) occurs tomorrow evening. This pairing should still be amazing to see this evening and Tuesday evening when they will be separated by less than 1/5th of a degree. Also, this event does not require a dark sky, only a reasonably clear view towards the southwest after sunset. You also do not need any special equipment, though a pair of binoculars or a small telescope might be nice.

Speaking of December 21st

In addition to the Grand Conjunction, the Moon will be at first-quarter, making a fine target for small telescopes, and at 6:02am the sun reaches its southernmost point in the sky, marking the Winter Solstice in the northern hemisphere and the start of its long journey northward.

Stay warm, and enjoy the view!
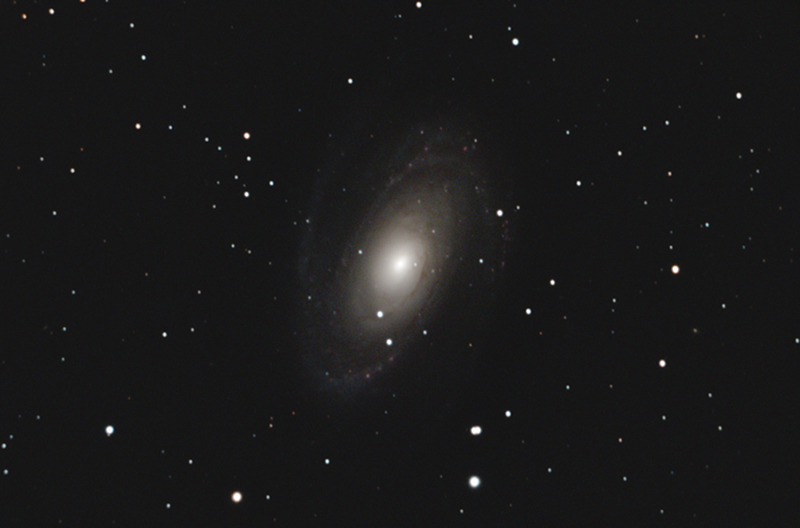
 

M81 – Spiral Galaxy in Ursa Major

M81 – Spiral Galaxy in Ursa Major

Telescope: Meade 12” LX850 ACF @ f/8, Orion Atlas EQ-G

Camera: ZWO ASI071 MC Pro, -10C, Gain 200

Filter: Orion Imaging Skyglow Filter

Guide scope: Astro-Tech 60mm, ASI290MM Mini, PHD2

Exposure: 21x240sec, saved as FITS

Darks: 32x240s, saved as FITS

Flats: 32x1sec, Tee shirt flats taken at dawn

Average Light Pollution: Red zone, Bortle 8, poor transparency

Lensed Sky Quality Meter: 18.4 mag/arc-sec^2

Stacking: Mean with a 2-sigma clip.

White Balance: Nebulosity Automatic

Software: Nebulosity, Deep Sky Stacker, Photoshop

I was a bit surprised at how well this turned out. The sky conditions were very poor with a fair amount of haze and very poor seeing. The result was a soft image with very low contrast. Processing recovered more detail than I thought it would and down-sampling the image helped to sharpen it a bit. Not a bad result, though I’m looking forward to trying this again under better conditions. So much to try, so few clear nights…

M81 is a beautiful spiral galaxy that is interacting with the nearby M82. The sky conditions for imaging this delicate galaxy were far from optimal, but it is still neat to see the beautiful sweeping arms tinged with blue star forming regions resulting from a close encounter with M82.

Eris – Trans-Neptunian Object

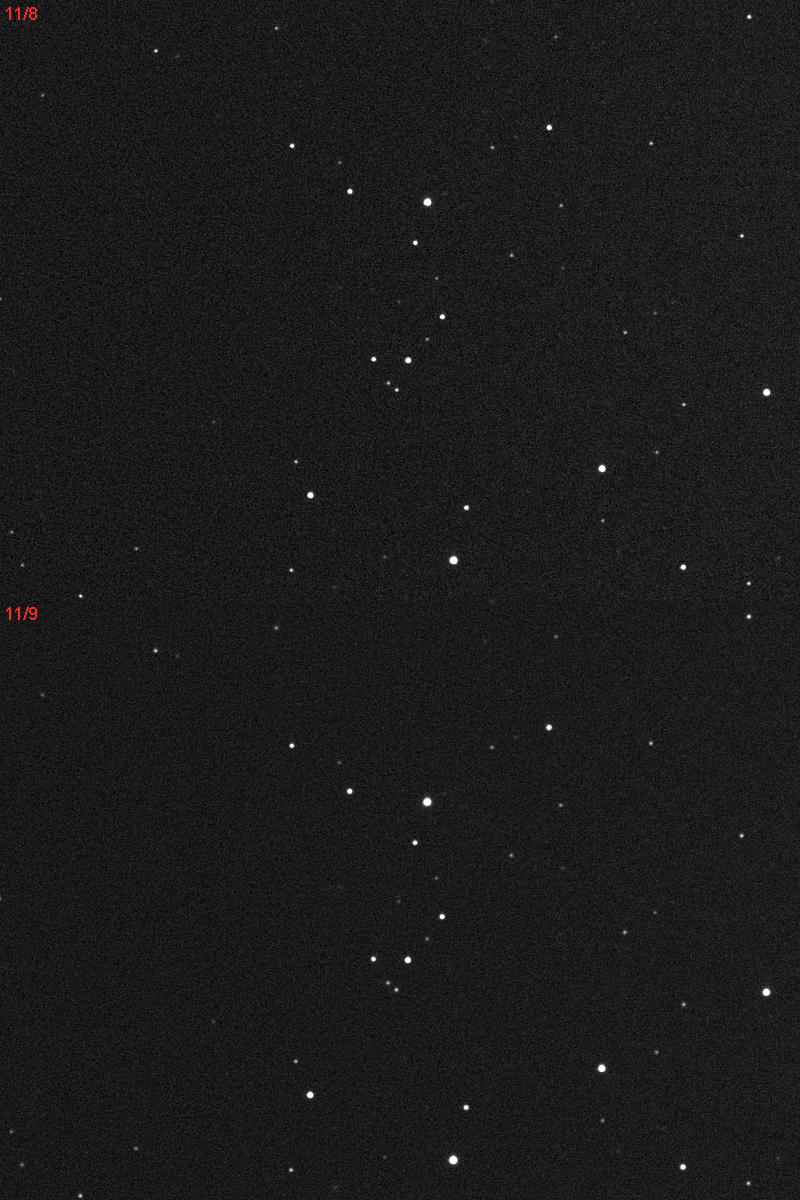
Eris – Trans-Neptunian Object – 11/8 & 9/2020 22h30m EST – Animated GIF
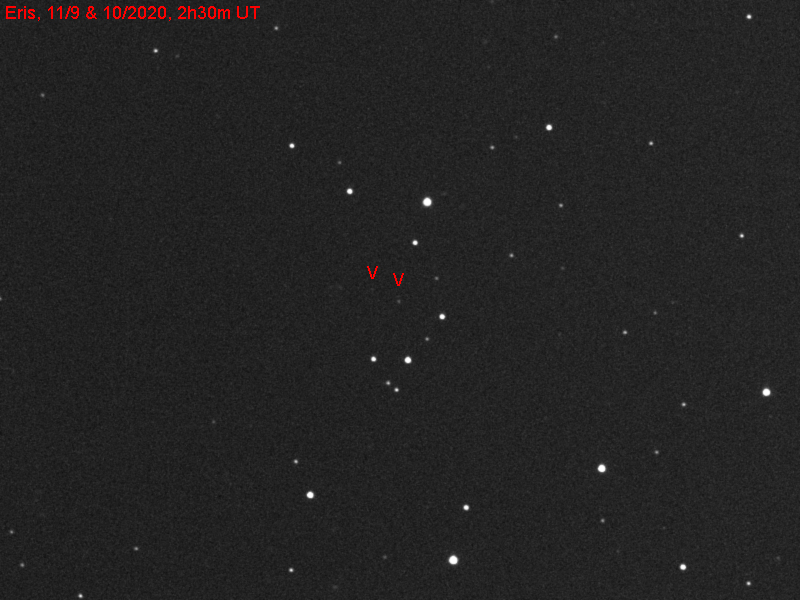
Still Frame showing the location of Eris

Telescope: Astro-Tech 8” f/8 Ritchey-Chretien, Orion Atlas EQ-G

Camera: ZWO ASI071MC Pro, -10C, Gain 200, Baader Mk III MPCC

Filter: Orion Imaging Skyglow Filter

Guide scope: Astro-Tech 60mm, Meade DSI Pro II, PHD

Exposure: 7x240s (11/8) & 11x240s (11/9), saved as FITS

Darks: 32x240s, saved as FITS

Flats: 32×0.2s, sky flats taken at dusk

Average Light Pollution: Red zone, Bortle 8, fair transparency

Lensed Sky Quality Meter: 18.5 mag/arc-sec^2

Stacking: Mean with a 2-sigma clip.

White Balance: Nebulosity Automatic

Software: Nebulosity, Deep Sky Stacker, Photoshop

I have wanted to try this for a long time and I have been waiting for a pair of nights with perfect transparency to give it a try. However, my window of opportunity is closing for this year so I decided to go ahead and give it a try, and much to my surprise… success! This is a composite of two images taken 24 sours apart at about 10:30pm EST on the evenings of Novermber 8th and 9th in Cetus. The tiny smudges near the center of this field are the dwarf planet Eris, one of the most distant objects in the solar system. Eris is currently 8.8 billion miles from the Sun, almost 3 times farther than Pluto. It takes sunlight over 13 hours to reach Eris, and another 13 hours for the feeble reflected sunlight to make the trip back to Earth. Eris is about the same size as Pluto and with a more reflective surface it is so cold out there that the surface is likely coated with frozen methane, but unlike Pluto the sunlight is so faint that it is unlikely that the surface has been darkened by the formation of tholins. Shining at an incredibly faint Mv 18.8 this is the faintest object that I have been able to photograph and identify from my backyard

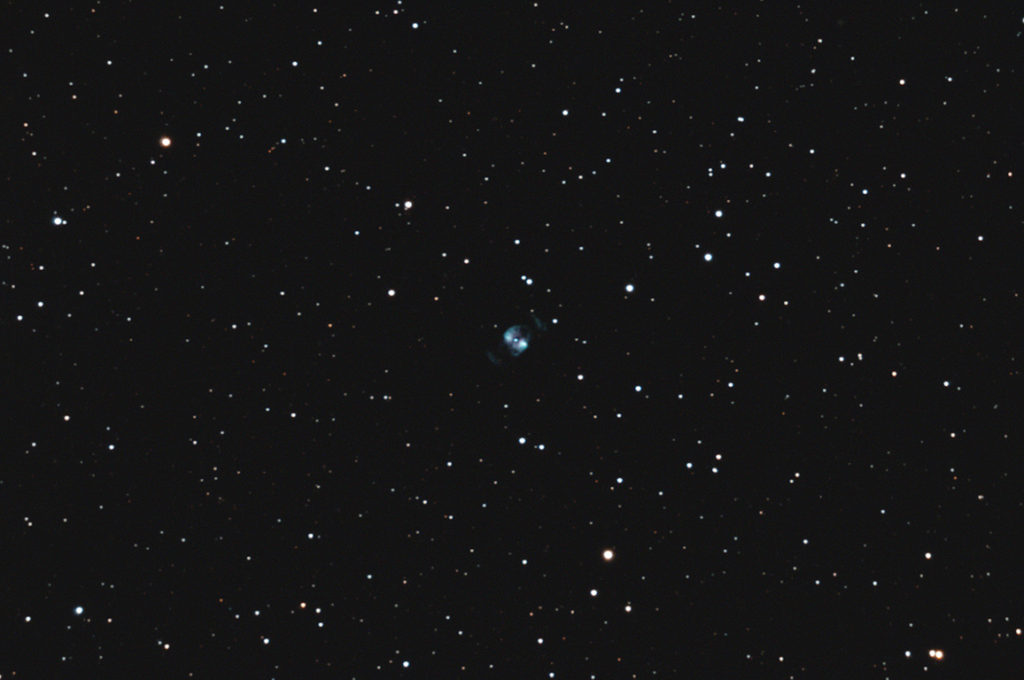
NGC 2371/2 – Planetary Nebula in Gemini

NGC 2371/2 – Planetary Nebula in Gemini

Telescope: Meade 12” LX850 ACF @ f/8, Orion Atlas EQ-G

Camera: ZWO ASI071 MC Pro, -10C, Gain 200

Filter: Orion Imaging Skyglow Filter

Guide scope: Astro-Tech 60mm, ASI290MM Mini, PHD2

Exposure: 22x240sec, saved as FITS

Darks: 32x240s, saved as FITS

Flats: 32x1sec, Tee shirt flats taken at dawn

Average Light Pollution: Red zone, Bortle 8, fair transparency

Lensed Sky Quality Meter: 18.6 mag/arc-sec^2

Stacking: Mean with a 2-sigma clip.

White Balance: Nebulosity Automatic

Software: Nebulosity, Deep Sky Stacker, Photoshop

NGC 2371/2 is a fascinating little planetary nebula in northern Gemini placed midway between Castor and Pollux. When this nebula was discovered it was thought that it was actually two separate objects, hence the two New General Catalog (NGC) numbers. The core nebula shows two clearly resolved lobes with two faint outer arcs. The seeing was pretty rough when this image set was taken so I down-sampled it a bit to keep it from looking too soft. I’ll be taking another look at this nebula on an evening with better seeing.

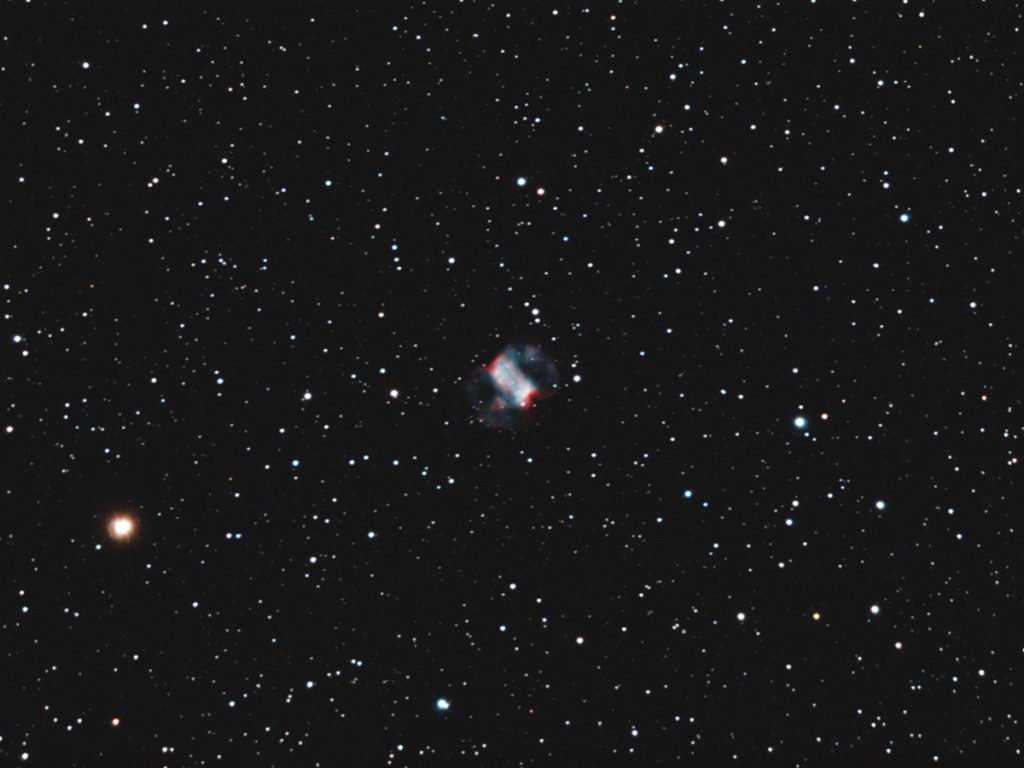
M76 – Planetary Nebula in Perseus

M76 – Planetary Nebula in Perseus

Telescope: Meade 12” LX850 ACF @ f/8, Orion Atlas EQ-G

Camera: ZWO ASI071 MC Pro, -10C, Gain 200

Filter: Orion Imaging Skyglow Filter

Guide scope: Astro-Tech 60mm, ASI290MM Mini, PHD2

Exposure: 31x240sec, saved as FITS

Darks: 32x240s, saved as FITS

Flats: 32x1sec, Tee shirt flats taken at dawn

Average Light Pollution: Red zone, Bortle 8, poor transparency

Lensed Sky Quality Meter: 18.3 mag/arc-sec^2

Stacking: Mean with a 2-sigma clip.

White Balance: Nebulosity Automatic

Software: Nebulosity, Deep Sky Stacker, Photoshop

M76 is a modest size planetary nebula in Perseus. This type of nebula forms near the end of a star’s life when the core collapses, setting off an explosion that blows off the star’s outer shell forming a bubble that can take the form of a great variety of shapes. In this example the central bar is thought to be a ring seen nearly edge-on and this relatively bright bar is the only part that is readily visible in a modest size telescope. Visually, the central bar shows two lobes that appear similar to M27, the Dumbbell Nebula in Vulpecula, and M76 is often referred to as the Little Dumbbell.

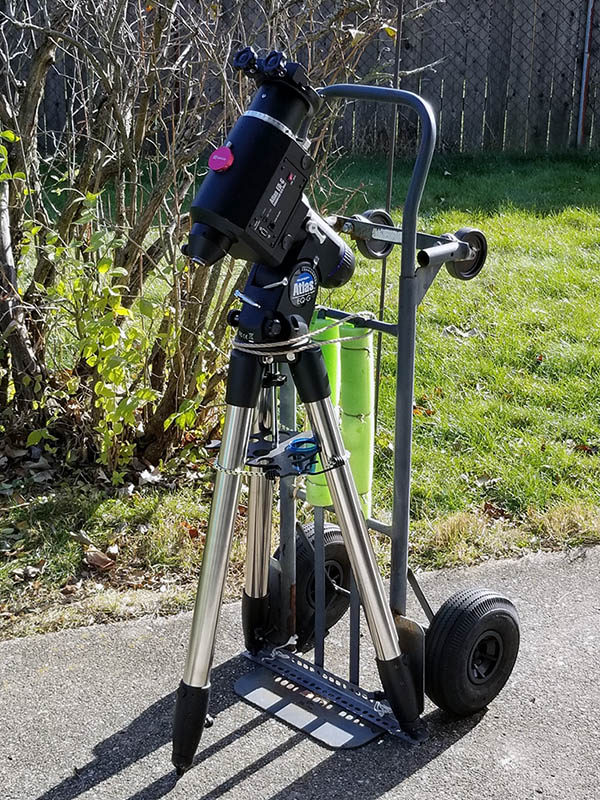
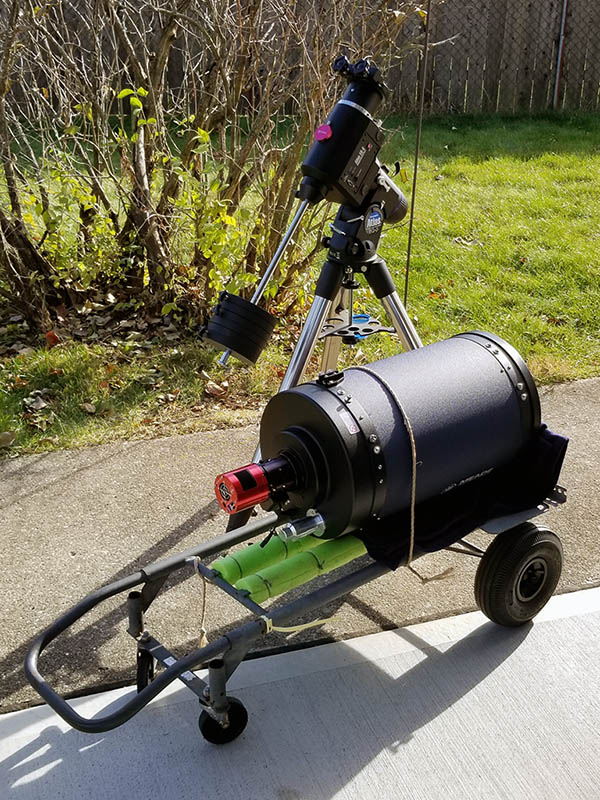
Safely Moving Heavy Gear

Moving an Atlas with the help of a two-wheel cart.
Setting heavy gear next to the mount.

A two-wheel cart is a handy accessory to help move heavy gear safely and comfortably. The large pneumatic tires roll well over any surface, including grass. A rope or strap holds the gear firmly in place when moving across uneven ground or over stoops.

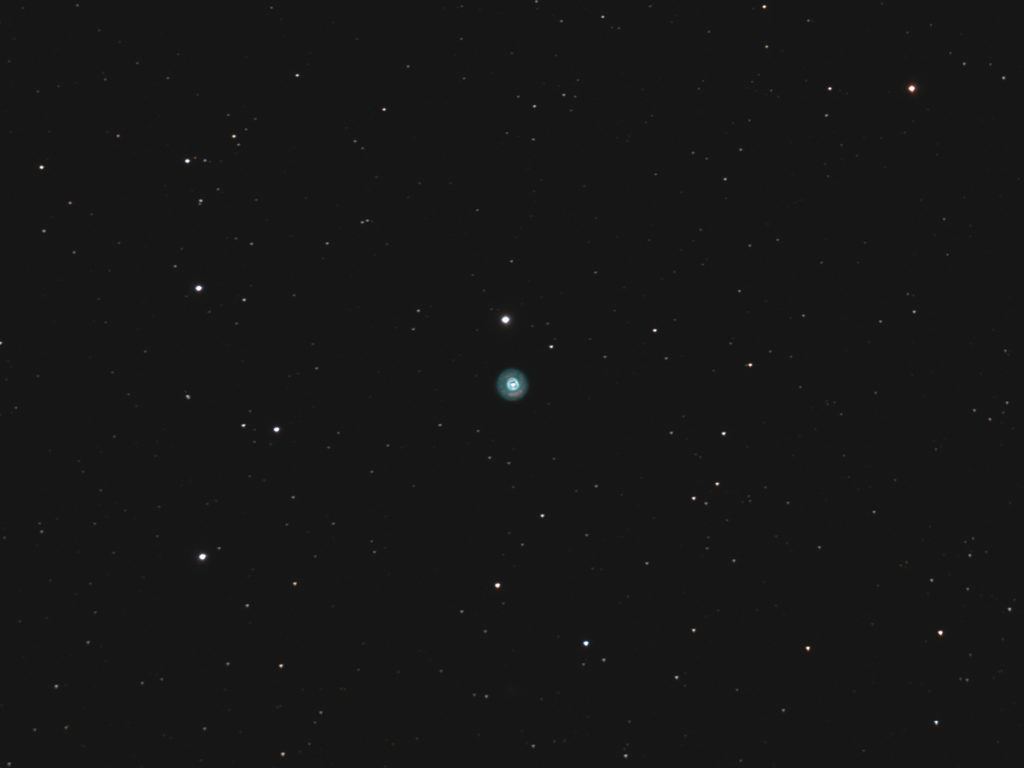
NGC 2392 – The Eskimo Nebula in Gemini

NGC 2392 – The Eskimo Nebula in Gemini

Telescope: Meade 12” LX850 ACF @ f/8, Orion Atlas EQ-G

Camera: ZWO ASI071 MC Pro, -10C, Gain 200

Filter: Orion Imaging Skyglow Filter

Guide scope: Astro-Tech 60mm, ASI290MM Mini, PHD2

Exposure: 74x60sec, saved as FITS

Darks: 32x60s, saved as FITS

Flats: 32x1sec, Tee shirt flats taken at dawn

Average Light Pollution: Red zone, Bortle 8, fair transparency

Lensed Sky Quality Meter: 18.6 mag/arc-sec^2

Stacking: Mean with a 2-sigma clip.

White Balance: Nebulosity Automatic

Software: Nebulosity, Deep Sky Stacker, Photoshop

NGC 2392, Eskimo Nebula, is a wonderful little planetary nebula Gemini. Visually this nebula looks much like its nickname, even in a small telescope. Planetary nebulas are formed when a star sheds its outer shell as it nears the end of its life. The core collapses into a fiercely bright white dwarf whose intense radiation sets the gas aglow, often with a beautiful blue/green color. The structure of this nebula shows that it experienced several shedding events.

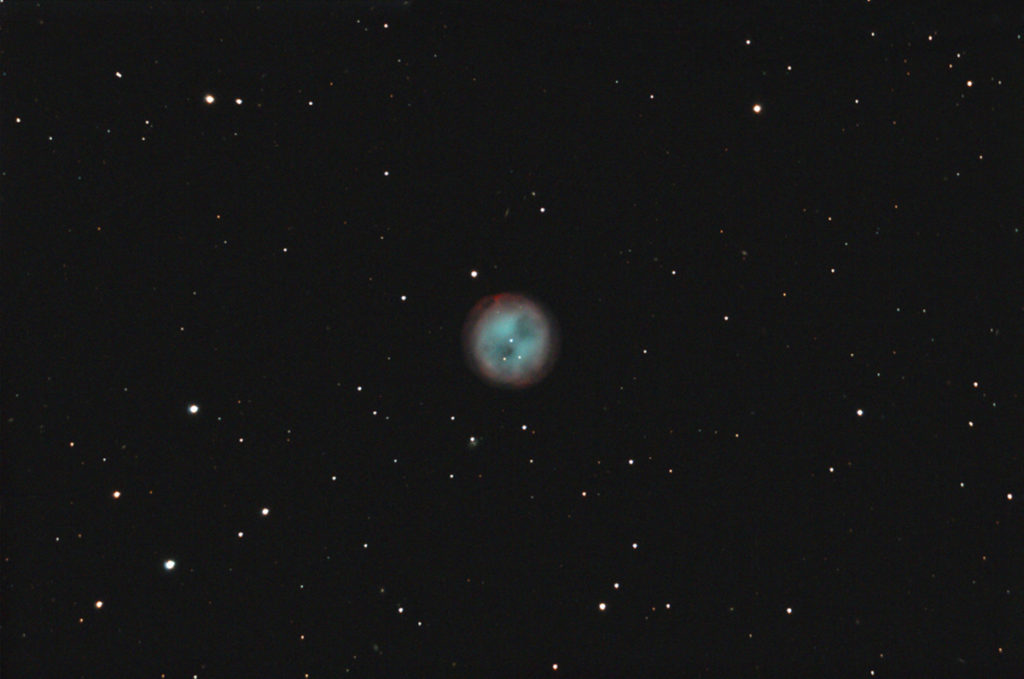
M97 – The Owl Nebula in Ursa Major

M97 – The Owl Nebula in Ursa Major

M97 – The Owl Nebula in Ursa Major

Telescope: Meade 12” LX850 ACF @ f/8, Orion Atlas EQ-G

Camera: ZWO ASI071 MC Pro, -10C, Gain 200

Filter: Orion Imaging Skyglow Filter

Guide scope: Astro-Tech 60mm, ASI290MM Mini, PHD2

Exposure: 47x240sec, saved as FITS

Darks: 32x240s, saved as FITS

Flats: 32x1sec, Tee shirt flats taken at dawn

Average Light Pollution: Red zone, Bortle 8, fair transparency

Lensed Sky Quality Meter: 18.6 mag/arc-sec^2

Stacking: Mean with a 2-sigma clip.

White Balance: Nebulosity Automatic

Software: Nebulosity, Deep Sky Stacker, Photoshop

This is the 3rd of 4 first-light image taken with my new to me Meade 12” f/8 ACF from LX850 production. The sky conditions weren’t the best with only fair transparency after being poor earlier, poor seeing, and a bit of a breeze, but I wanted to assess how well my Atlas would carry this scope and how well it would guide. To keep the weight down I removed the Starlock mount from the telescope and mounted a 50mm Orion mini guider under the Losmandy rail. However, the guiding seemed to be struggling a bit, so I replaced the 50mm mini with an Astro-Tech 60mm guidescope. I found out later that this whacked the balance of the scope in both RA and dec, but it still guided fairly well. There’s a few issues with the star shapes in this image, but follow-on testing with the telescope properly balanced was excellent. Soooo, although it pushes the Atlas to its limits, this combination seems to work quite well.

M97 is a wonderful little planetary located just below the bowl of the Big Dipper. It is easy to locate, but a challenge to see from my light polluted backyard. If you look closely there are tiny galaxies scattered across the field. For example, to the lower left of the nebula is PGC 34279 (Mv 16.0) and above the nebula are PGC 2490291 (Mv 17.6) and 2490640 (Mv 17.3).

De-forking a Schmidt-Cassegrain Telescope

A vintage Celestron C8 tripod adapter.

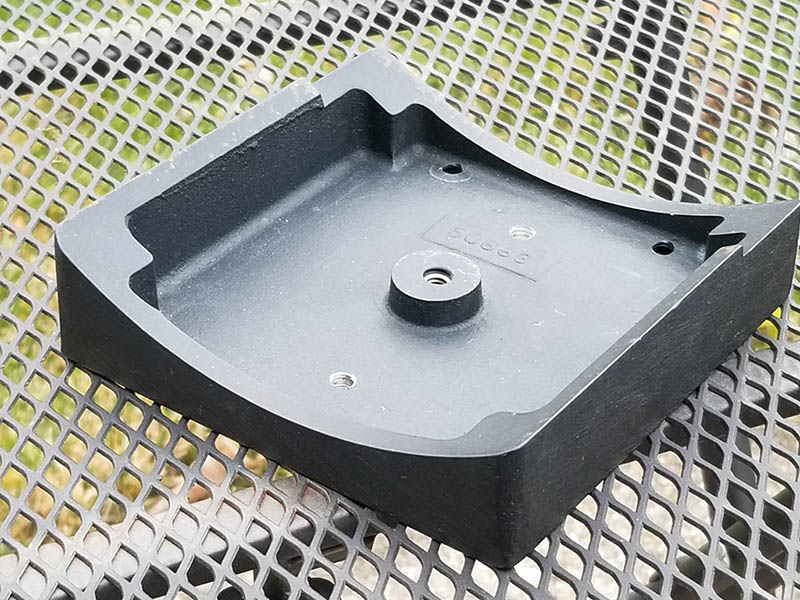
Interestingly, de-forking SCTs has been around as long as the SCT itself! The original owner’s manual for the 1970s vintage Celestron C8 describes how to do it and you could even buy a ‘tripod adapter’ for the C8. Nearly 50 years later the procedure is nearly the same. Briefly, you need to support the telescope so nothing falls as it comes apart. I place mine on a sturdy table covered with a towel. Start with the telescope on its base with the clutches loose. Before you start, gently scribe where the fork arm that has the dec clutch attaches to the base; this is so you can re-align this arm in case you ever re-fork the scope. On the LX200, remove the plastic cover from the bottom of the fork arm that has the dec clutch. This will give you access to the 4 bolts that hold the arm to the base. Using an Allen wrench slightly loosen these 4 bolts. You may need an extension to crack these bolts loose. Once cracked loose, snug them so the arm doesn’t move before you’re ready. Gently lean the telescope forward over the control panel and allow the telescope to pivot on the dec axis until the front of the scope and its dust cover are firmly supported on the table. Now loosen the 6 bolts (3 on each side) that hold the telescope to the fork trunnions. The middle bolt may be hard to reach and you may need to file down an Allen wrench to fit between the fork and the bolt head. Once all 6 bolts are loose, loosen the 4 bolts that hold the fork arm to the base by several turns; this will allow you to open the forks enough to slide it up and off the scope without scratching the tube. While supporting the forks to keep them from falling, carefully remove the 2 outer trunnion bolts from each side. Loosen the 3rd until it is almost out. Once this 3rd bolt comes out you’ll need to hold the mount to keep it from falling, so be careful! Carefully remove the 3rd bolt from each side while supporting the forks and then lift the fork up and off the scope. Installation is the reverse of this procedure.

Very important! Do NOT put the trunnion bolts back in the scope! They may be long enough to bear on the mirror. Instead, place them in a labeled bag and store them with the mount. Purchase a set of shorter bolts from a hardware store to plug the holes on the telescope.

The first time you de-fork a Schmidt Cassegrain can be a bit tricky, but once you’ve seen how it is done it is fairly easy. However, please proceed with caution.

A 12” f/8 Meade ACF from LX850 Production

A 12” f/8 Meade ACF from LX850 Production
Shown with the dew shields installed

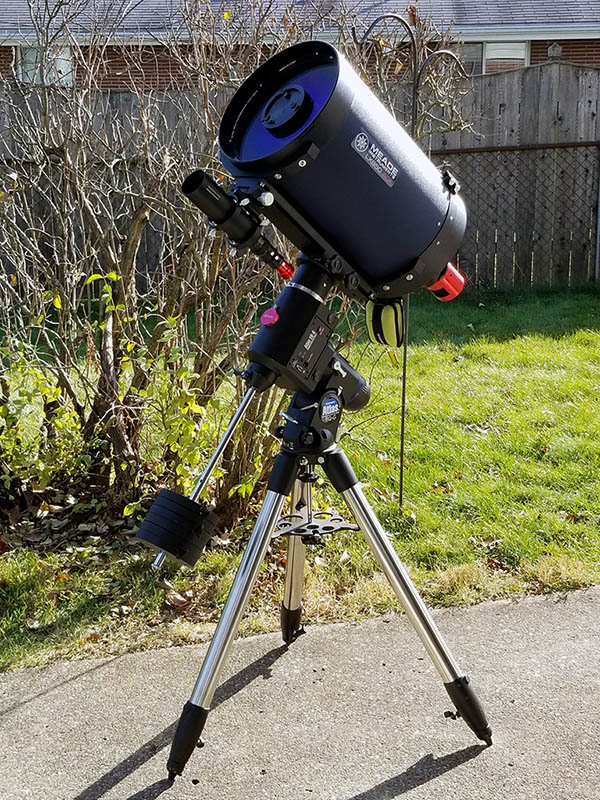
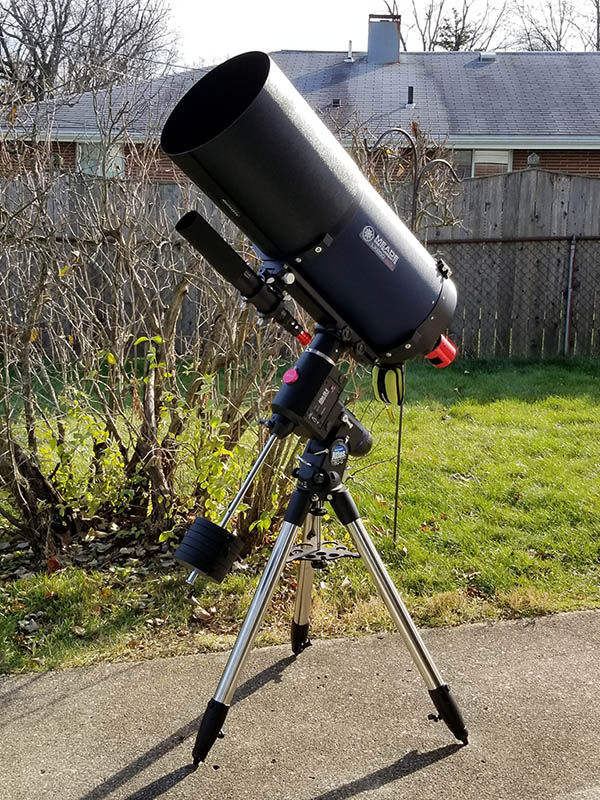
This is my new-to-me 12” f/8 Meade ACF from LX850 production after two solid nights of imaging shown with and without the dew shields installed. The weather was pretty rough and really not well suited for serious work, but I wanted to determine whether the Atlas could handle the weight of the 12”. To save weight I removed the Starlock mount from the top of the telescope and mounted a 50mm mini guider under the scope. I also used a Lepus 0.62x focal reducer to make the guiding a little more forgiving. However, I wasn’t thrilled with the initial results, so I replaced the small guider with a larger 60mm Astro-Tech guide scope and removed the focal reducer. I knew that this would shift the balance and I later found out that it was whacko off, but it still performed very well. Before starting the second night of work I reset the balance and it performed brilliantly. So, question answered; yes, the Atlas can manage the weight of the 12” if you pay close attention to the balance. The next step is to add a Reflectix insulation jacket to slow the response of the telescope to temperature changes during the night. This should reduce how fast the focus shifts as the telescope cools and shrinks. The devil is always in the details!